


Installing fob access on an existing door means adding three things to the door assembly: a reader, an electrified locking device (a strike or maglock), and a controller that connects the two and manages access. Power and wiring tie it together. Access control software turns it into a system you can program and manage day to day.
Two things determine how that installation actually goes, and most guides skip both. First, the credential format chosen at installation – the type of fob or card – locks in what the reader can read for as long as that reader stays in place.
Switching later usually means replacing hardware. Second, on any door used for egress, the installation isn’t purely a hardware decision: building and fire code govern how the door must unlock, and licensing for who can legally do that work varies by state and municipality.
This page walks through what determines installation scope, how to choose a credential format and reader protocol that won’t need replacing in two years, what code requires on egress doors, and what the work actually costs.
How We Researched This
The install steps in this guide come from Swiftlane’s deployment data across property installs. Code requirements are cited directly from the International Building Code via UpCodes, with interpretation from I Dig Hardware’s code commentary, never from a vendor blog.
Credential security claims trace to published academic research on RFID and cipher security, including the 2008 Radboud University analysis of MIFARE Classic’s Crypto1 cipher. Cost ranges reflect Swiftlane’s published per-door figures, gated by the retrofit variables that actually move a quote. Search demand and intent came from Google Search Console query data on this page.
Key Takeaways
- Installing fob access on an existing door means adding three components: a reader, an electrified locking device, and a controller. The credential format chosen at install time determines what the reader can read going forward.
- Older 125 kHz prox credentials and MIFARE Classic transmit data with weak or broken encryption; AES-based formats like HID Seos and MIFARE DESFire EV3 are the current standard for secure credentials.
- OSDP with Secure Channel enabled encrypts and supervises the connection between reader and controller; Wiegand does not. Retrofitting OSDP later usually means replacing readers, not just reconfiguring them.
- Egress doors are governed by building and fire code; requirements cover sensor release, push-to-exit placement, fire alarm tie-in, and UL 294 listing.
- Licensing for who can perform this work varies by state and municipality; egress-door installs typically require a qualified or licensed installer, confirmed against the local AHJ.
- Per-door costs vary widely because the biggest cost driver is usually the retrofit variable: whether you can reuse existing cabling and hardware.
Table of Contents
- What Installing Fob Access Actually Involves
- Credential Formats: The Decision That Locks You In
- Wiegand vs. OSDP: The Link Between Reader and Controller
- Egress and Life-Safety Code: What Governs the Door
- The Installation, Step by Step
- Cost and Timeline
- Cluster Routing
- FAQs
What Installing Fob Access Actually Involves
Every fob access installation on an existing door comes down to four parts working together:
- Lock hardware – an electric strike or magnetic lock that releases the door on a valid credential
- Reader – the device mounted at the door that reads the fob or card
- Controller – the hardware that connects to the reader, makes the access decision, and manages permissions
- Power – a dedicated power supply sized for the lock hardware and reader, plus backup power for continuity during an outage
What actually determines the scope of the job is rarely the hardware itself. It’s the door and the site:
- Door and frame condition: A door and frame in good repair, with adequate reinforcement for hardware mounting, is a straightforward install. A frame that needs reinforcement, or a door that isn’t rated for the lock hardware being added, adds carpentry and cost before the access hardware goes in.
- Existing hardware: If a door already has a compatible strike, maglock, or wiring in place, reusing it cuts both material and labor. Starting from a bare door means running new cable and mounting new hardware throughout.
- Cable path: Whether conduit or cable runs through existing walls and ceiling spaces, or has to be fished through finished walls or run exposed, is one of the highest hidden cost and timeline variables in a retrofit.
- Credential format: The format chosen here (covered in the next section) determines which readers are compatible, and switching formats later generally means replacing readers, not just reprogramming them.
Getting these four right, and understanding what’s driving scope before requesting quotes, is what separates a straightforward install from one that runs over budget.
Credential Formats: The Decision That Locks You In
The credential format chosen at installation determines what the reader can read, and that choice locks in for the life of the reader fleet. Swapping formats later usually means replacing readers, not reprogramming them, so it’s worth knowing what’s already on the property before ordering anything.
Three generations are in circulation, and they are not equally secure:
- 125 kHz low-frequency prox, including EM4100. The oldest format, and still common. It transmits a static, unencrypted ID with no mutual authentication. Handheld duplicators that clone it sell for under roughly $50, making it the easiest format to copy without authorization.
- MIFARE Classic. Uses a proprietary cipher, Crypto1, broken by published academic research out of Radboud University in 2008. Deployments still running it carry a documented, public vulnerability, not a theoretical one.
- Credentials with mutual authentication and modern encryption, such as HID Seos and MIFARE DESFire EV3 (an NXP product), represent current best practice, though the encryption strength depends on configuration. DESFire EV3 supports DES, 3DES, and AES; it’s only as secure as its weakest configured cipher, so a deployment set up for legacy DES compatibility doesn’t get AES protection just because the chip supports it.
Before ordering hardware, identify which format is already deployed on the property. New readers are often chosen to match what’s already in residents’ and employees’ hands, which is exactly how outdated formats get carried into new installs. For a deeper look at how the RFID frequencies and formats differ, see the full breakdown.
Wiegand vs. OSDP: The Link Between Reader and Controller
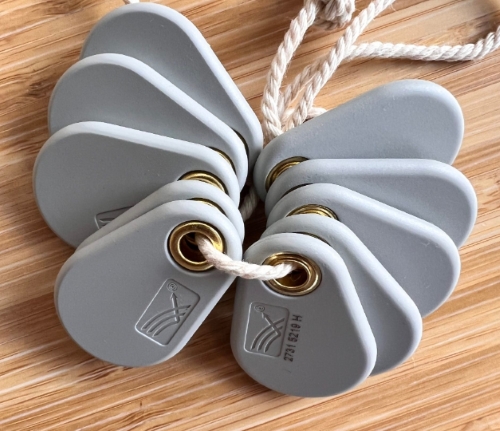
The protocol connecting the reader to the controller matters as much as the credential format, and it rarely comes up until something goes wrong.
- Wiegand carries credential data unencrypted, one-way, with no supervision. The controller can’t detect if a reader is unplugged, jammed, or spoofed, and it can intercept credential data in transit.
- OSDP, the open standard from the Security Industry Association and an international standard (IEC 60839-11-5), supports bidirectional communication and supervision, meaning the controller can detect tamper or disconnect events. With Secure Channel enabled, OSDP also encrypts the connection using AES-128. That caveat matters: OSDP is only encrypted when Secure Channel is turned on, not by default.
For any new install, specifying OSDP with Secure Channel is the current standard. Retrofitting OSDP onto an existing Wiegand setup usually means replacing readers rather than reconfiguring them, since Wiegand-only readers typically lack the RS-485 interface OSDP requires.
Egress and Life-Safety Code: What Governs the Door
For any door used for egress, code governs how the door must unlock, not just how access is granted. This is the part of an installation most often skipped, and the part most likely to cause problems at inspection.
Electromagnetically locked doors stay closed when power is applied. Because releasing power unlocks them, code requires safeguards to ensure they open when needed. Under the applicable edition of the IBC, §1010.2, electromagnetically locked egress doors generally require:
- An egress-side motion sensor that unlocks the door automatically
- A push-to-exit button, typically mounted 40 to 48 inches above the floor and within 5 feet of the door, with ready access to the device and a sign that clearly identifies it, reading “PUSH TO EXIT”
- Unlocking for a minimum duration (commonly 30 seconds) once triggered
- Unlocking on loss of power
- Unlocking on fire alarm and, where sprinklers are present, sprinkler activation, remaining unlocked until manually reset
- Emergency lighting at the door
- A locking device listed to UL 294
Electric strikes work differently. Because turning the inside lever or panic hardware always mechanically retracts the strike regardless of power, they allow free egress by design and are generally exempt from the sensor-release requirements above. On fire-rated door assemblies, though, the strike itself must be fail-secure, since a fail-safe strike would let a fire door sit unlatched.
Code aside, there’s also the question of who can legally do this work. Licensing for low-voltage and access-control installers varies by state, and there’s no single national standard. A few examples:
| State | License type | Issuing body |
| Texas | Electronic Access Control Device Installer license | Texas Private Security Bureau (Dept. of Public Safety) |
| California | Lock and Security Equipment Contractor license (C-28) | California Contractors State License Board |
| Alabama | Electronic access control installer license | Alabama Electronic Security Board of Licensure |
| Nevada | Electronic Access Control Device Installer (individual) / Class B license (business) | Nevada Private Investigators Licensing Board |
| Colorado | No statewide license requirement for this category of work | Regulation left to local jurisdictions |
Confirm requirements with the local authority having jurisdiction (AHJ) before scoping the job, and treat any fire alarm system tie-in as its own permit and inspection item.
The Installation, Step by Step
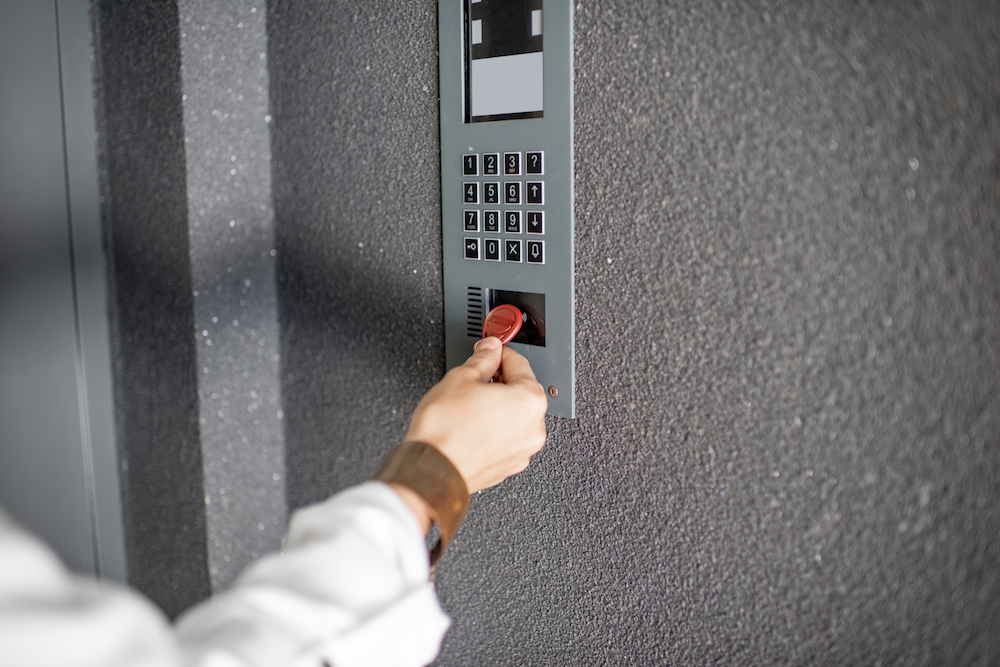
The steps below assume a door and frame in workable condition. Call out any step that depends on site-specific variables rather than glossing over it.
- Assess door prep and hardware reuse. Check whether the door and frame can accept the new hardware without reinforcement, and whether you can reuse any existing strike, maglock, or wiring. This drives most labor and cost variance between installs.
- Choose strike vs. maglock. An electric strike fits into the existing frame and allows free mechanical egress by design, making it the simpler choice on most doors. A magnetic lock requires more mounting hardware and, on an egress door, requires the full sensor-release setup covered in the previous section. The door type, frame, and code requirements determine which is appropriate.
- Size and place the power supply. The power supply has to be rated for the lock hardware and reader combined, with backup power for outage continuity. It’s typically mounted in a nearby closet or above the ceiling, not at the door itself.
- Run wiring from reader to controller. Cable type matters: OSDP requires a twisted-pair connection (typically Cat5e/Cat6 or dedicated RS-485 cable), while Wiegand does not. Running the wrong cable type is one of the most common reasons an OSDP retrofit requires re-pulling cable, not just swapping the reader.
- Install the request-to-exit (REX) device and door position switch (DPS). The REX allows free exit without triggering an alarm; the DPS reports whether the door is open, closed, or held open. Both feed into the controller and are required for accurate door status reporting.
- Tie into the fire alarm system, where applicable. For electromagnetically locked doors, the connection to the fire alarm panel that unlocks the door on activation is its own scope item, typically requiring its own permit and inspection separate from the access control work.
- Test and register credentials. Once wired and powered, test the lock’s fail behavior (fail-safe or fail-secure, as intended), confirm the REX and DPS report correctly, and register fobs before considering the door live.
Cost and Timeline
Costs for this kind of installation vary widely, and the single biggest driver isn’t the hardware. It’s the condition of existing cabling. A door with usable existing wiring is a different job, in cost and timeline, than one being wired from scratch.
Based on Swiftlane’s published deployment figures:
- Hardware: roughly $300 to $2,500 per door, depending on lock type, reader, and controller selected
- Installation labor: roughly $200 to $800 per door
- Cloud/software: roughly $5 to $40 per door per month
Within those ranges, the retrofit variable does most of the work:
- Existing cabling reusable: installs land toward the lower end of the labor range, and timelines are typically measured in hours per door rather than days.
- New cabling required: labor costs rise toward the upper end or beyond it, since cable runs (especially through finished walls or across a building) add both material and time. Timelines extend accordingly, particularly on multi-door or portfolio-wide projects.
Credential format and protocol choice also affect cost indirectly: specifying OSDP-capable readers and AES-based credentials up front typically costs more at installation than legacy hardware, but avoids the cost of a full reader replacement later.
Cluster Routing
Fob access systems overlap with several topics this page won’t cover in depth. Rather than repeat that ground, here’s where each lives:
- What a fob system is and how it works, broadly — covered in full in the key fob entry systems guide, including its own installation overview and FAQ.
- RFID frequencies and credential formats in more depth — see how the RFID frequencies and formats differ.
- Choosing a system for an apartment building — the apartment key fob buyer’s guide covers property-specific selection criteria.
- Multi-site or portfolio-wide deployments — see multi-site commercial configurations.
- Key card systems as a category — the full key card system pillar covers card-based access broadly, including where it overlaps with and differs from fobs.
- General access control costs and system components — the door access control guide is the cost benchmark referenced earlier on this page.
FAQs
Can I install it myself?
The reader and controller components can sometimes be self-installed on doors that aren’t used for egress and where compatible wiring already exists. On egress doors, though, code requirements and, in most jurisdictions, licensing rules apply — this isn’t a category where scope can be judged accurately without site-specific review. Confirming with a licensed installer and the local AHJ before starting is the safer starting point.
Do I need a permit?
Often, yes, particularly for any fire alarm system tie-in, which typically requires its own permit and inspection separate from the access hardware itself. Permit requirements vary by municipality, so confirm with the local building department before scoping the job.
Will it work with my existing door?
That depends on the door and frame condition, whether existing wiring is usable, and what lock hardware is being added. A door and frame in good repair with reusable wiring is typically the simplest case; a bare door or one needing reinforcement adds scope. This is exactly what a site assessment is for before ordering hardware.
What happens in a power outage?
That depends on how the lock hardware is configured. Fail-safe locks unlock on power loss, which is required behavior for electromagnetically locked egress doors under code. Fail-secure locks stay locked on power loss, which is the required behavior for electric strikes on fire-rated door assemblies. Backup power at the door extends normal operation during short outages, regardless of the configuration used.
Getting Started
For a single door, the path is straightforward: confirm the credential format already in use, check whether the door is used for egress, and get a site assessment before ordering hardware. That assessment turns a rough cost range into an actual quote.
For a multi-door or portfolio-wide rollout, the sequencing matters more: standardizing on one credential format and protocol across every door up front avoids mixing reader generations later, and a phased install plan can keep occupied buildings running normally during the work. See multi-site commercial configurations for how that typically gets sequenced.
Request A Demo for Swiftlane Key Fob System
If you are interested in learning more about Swiftlane's key card and fob system, please tell us your questions and we are happy to help out.


